EDV:Conf.dfn.de: Difference between revisions
No edit summary |
No edit summary |
||
| Line 1: | Line 1: | ||
DFN offers an own system for web conferences. |
|||
For web-conferences the DFN offers an own system. To access it and join a conference, just open [https://conf.dfn.de conf.dfn.de] and use the conference number you got from the conference opener. Then you can see the participants at the left. (If only selected guests may take part, you probably have to enter a pin.) To set up your system click on the three dots on the left an chose "Select media device". Here you can select the used speaker, microphone and cam. |
|||
To join a conference, just open [https://conf.dfn.de conf.dfn.de], use the conference number you received from the inviter & you can see the participants on the left. (You have to enter the pin if only selected guests are to be participated) |
|||
To set up your system click on the three dots on the left an choose "Select media device". Here you can select the speaker, microphone and the camera. |
|||
To test your settings you can join a [https://conf.dfn.de/webapp/conference/9791?name=Test "testcall"]. |
To test your settings you can join a [https://conf.dfn.de/webapp/conference/9791?name=Test "testcall"]. |
||
Revision as of 10:02, 7 August 2019
DFN offers an own system for web conferences.
To join a conference, just open conf.dfn.de, use the conference number you received from the inviter & you can see the participants on the left. (You have to enter the pin if only selected guests are to be participated)
To set up your system click on the three dots on the left an choose "Select media device". Here you can select the speaker, microphone and the camera.
To test your settings you can join a "testcall".
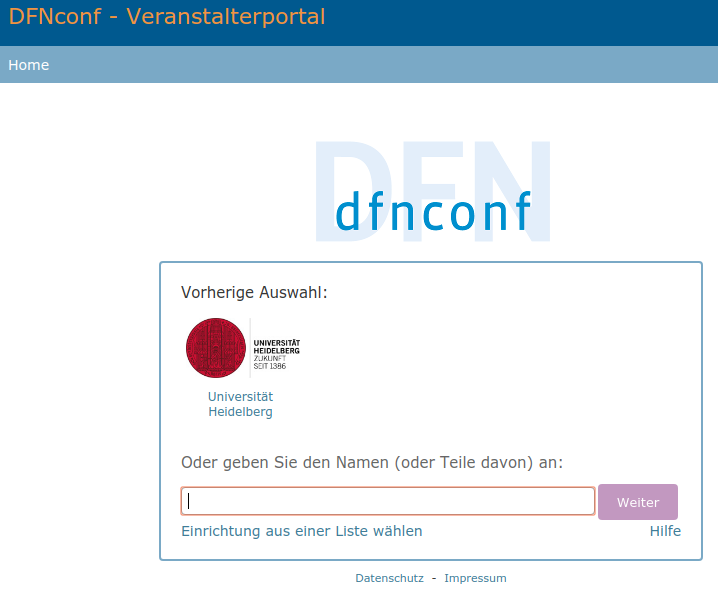
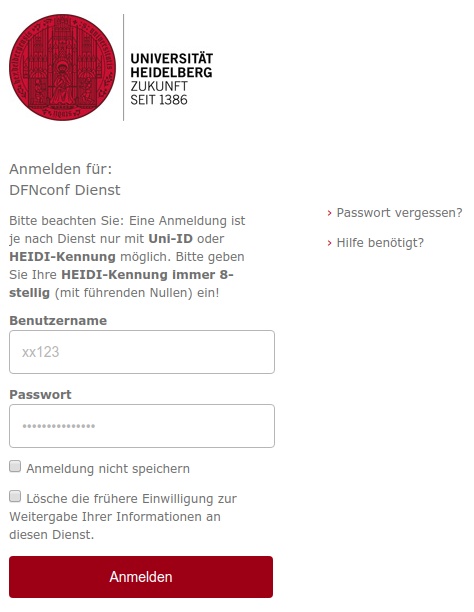
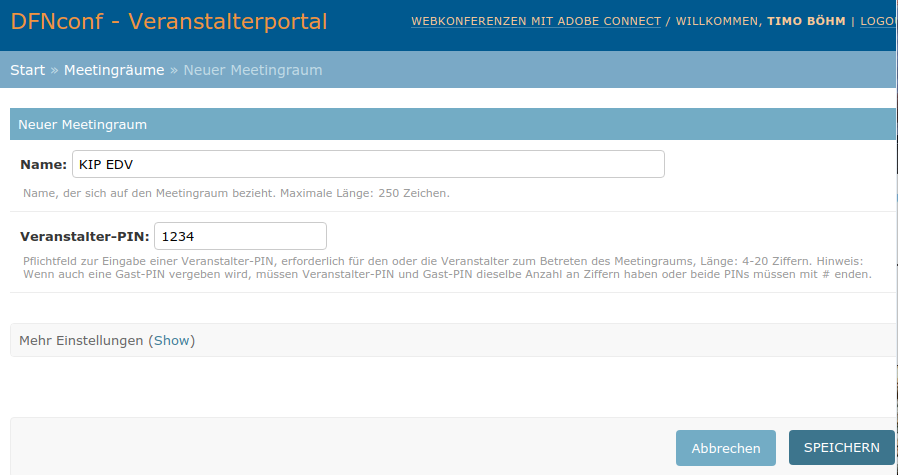
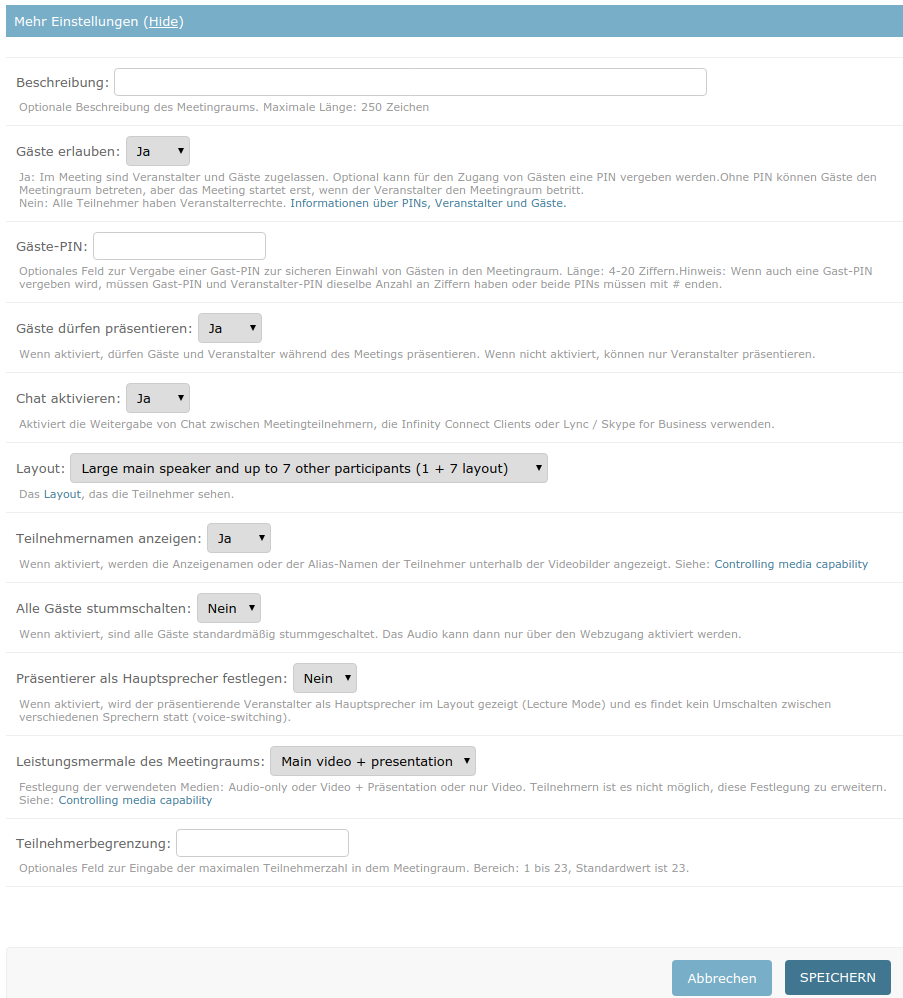
If you like to set up an own conference, go to my.conf.dfn.de/disco/, choose "Universität Heidelberg" and log in with your Uni-Account (like xx123). To create a new conference select "NEUER MEETINGRAUM +". Now give the meeting a name (here "KIP EDV") an a pin (with four to twenty numbers, for example "1234"). If you like to make additional settings, click on "Mehr Einstellungen (Show)". Here you can enter a description of the meeting ("Beschreibung"), allow the access to anybody ("Gäste erlauben") and set up a pin for the guests ("Gäste-PIN"). Further more you can decide, if only you will show papers to the guests or they shall also have the possibility to do it ("Gäste dürfen präsentieren"). If you enable "Chat aktivieren" also users using Skype for Business, Lync or Infinity Connect Clients may take part. The option "Layout" sets up the layout of the conference page - shall only the speaker be shown ("Full-screen main speaker only (1 + 0 layout)") or also the other participants (up to 7: "Large main speaker and up to 7 other participants (1 + 7 layout)", up to 21: "Small main speaker and up to 21 other participants (1 + 21 layout)"). The next options provide the possibilities to show the names of the participants ("Teilnehmernamen anzeigen"), to turn the guests dumb ("Alle Gäste stummschalten"), to show the presenter as leading speaker in the surface ("Präsentierer als Hauptsprecher festlegen"), select what everything should be offered ("Main Video + presentation", "Audio only", "Main Video only") and set up the maximum Users allowed to visit the meeting ("Teilnehmerbegrenzung").
Select the university that provides the user account:
Login with your Uni-account:
Create a conference with the basic settings:
Additional settings:


